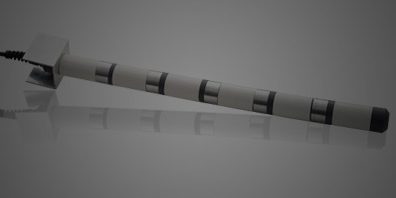
Using a water level is a simple process when you know how but here are a few tricks of the trade to make sure you get the most from your new wate level. Read on to learn more.
Set Up And Using The Water Level
For most water-leveling chores, the setup is the same: First, fill your level so you have from a few inches to a foot or so of empty space at each end. You’ll need this for adjustment purposes. Next, find a way to support both ends of the tubing so they hang vertically but can slide up and down. (This is where extra spring clamps and a little creativity will come in handy.) A couple of nails placed on either side of the tubing — just enough to catch it, but not tight enough to pinch the tubing, will do the trick. You can also tuck the tubing behind a vinyl-siding J-channel, or clip it to a grade stake or concrete form using a couple of spring clips. Once both ends are supported at roughly the right level, unclip both ends and let the liquid find its own level. From here, you can measure up or down from a reference mark and transfer that measurement to the other end of whatever you’re leveling. However, I prefer to slide the tubing up or down until the meniscus lines up with whatever I’m trying to level, and then I head over to the other end and make my mark. The latter approach is foolproof and eliminates measuring mistakes: My favorite screw-up is holding my tape on the one-inch mark at one end but forgetting to do that on the other.
Using a water level is very straightforward, but accuracy requires an uninterrupted column of liquid all more or less at the same temperature — no kinks or flat spots in the tubing, and no air bubbles. Below are some common problems you may encounter. Both water and alcohol-based antifreeze expand dramatically when they warm up, so leaving half of your tubing in the shade and the other half baking in the direct summer sun can throw things off as much as 3/8 inch between readings. The smaller the diameter of tubing you’re using, the worse the effect. If that happens, your best bet is to refill the level from the gallon jug to even out the temperature of the liquid. The liquid needs to be able to flow freely in the tubing while in use. Kinks (or greenhorns stepping or kneeling on the tubing) will completely throw off your results. A little education here goes a long way. If all you’re doing is shooting rough grade, a couple of small bubbles won’t make a huge difference. However, if you’re leveling piers or trying to lay out stairs, you need accuracy, and every air bubble in your level is a variable that will throw off your results. No matter how careful I am, bumping around in my truck always seems to introduce air bubbles to the level. For that reason, I refill my water level every time I use it. Siphoning in new liquid gets rid of the air bubbles.
Source: https://www.deckmagazine.com/products/tools-equipment/making-and-using-a-water-level_o
Never Replace Water Level Indicators Again With Checkpoint™
Our Checkpoint™ water level indicators never rust, foul or deteriorate like float switches do and also come with a 1-year warranty! Give us a call today or visit our product pages for more information about our water level controllers.


